Wedding Timeline NZ – Create Your Own Timeline Automatically in 5 minutes!
Are you trying to plan your wedding day but have no idea what happens when? Or maybe you’re on the hunt for your dream Wedding Photographer and are trying to figure out how much coverage you need? Either way, help is here! On this page you will find a link to a free download that will allow you to calculate your own Wedding Day Run-Sheet automatically in just minutes. Read on for more info.
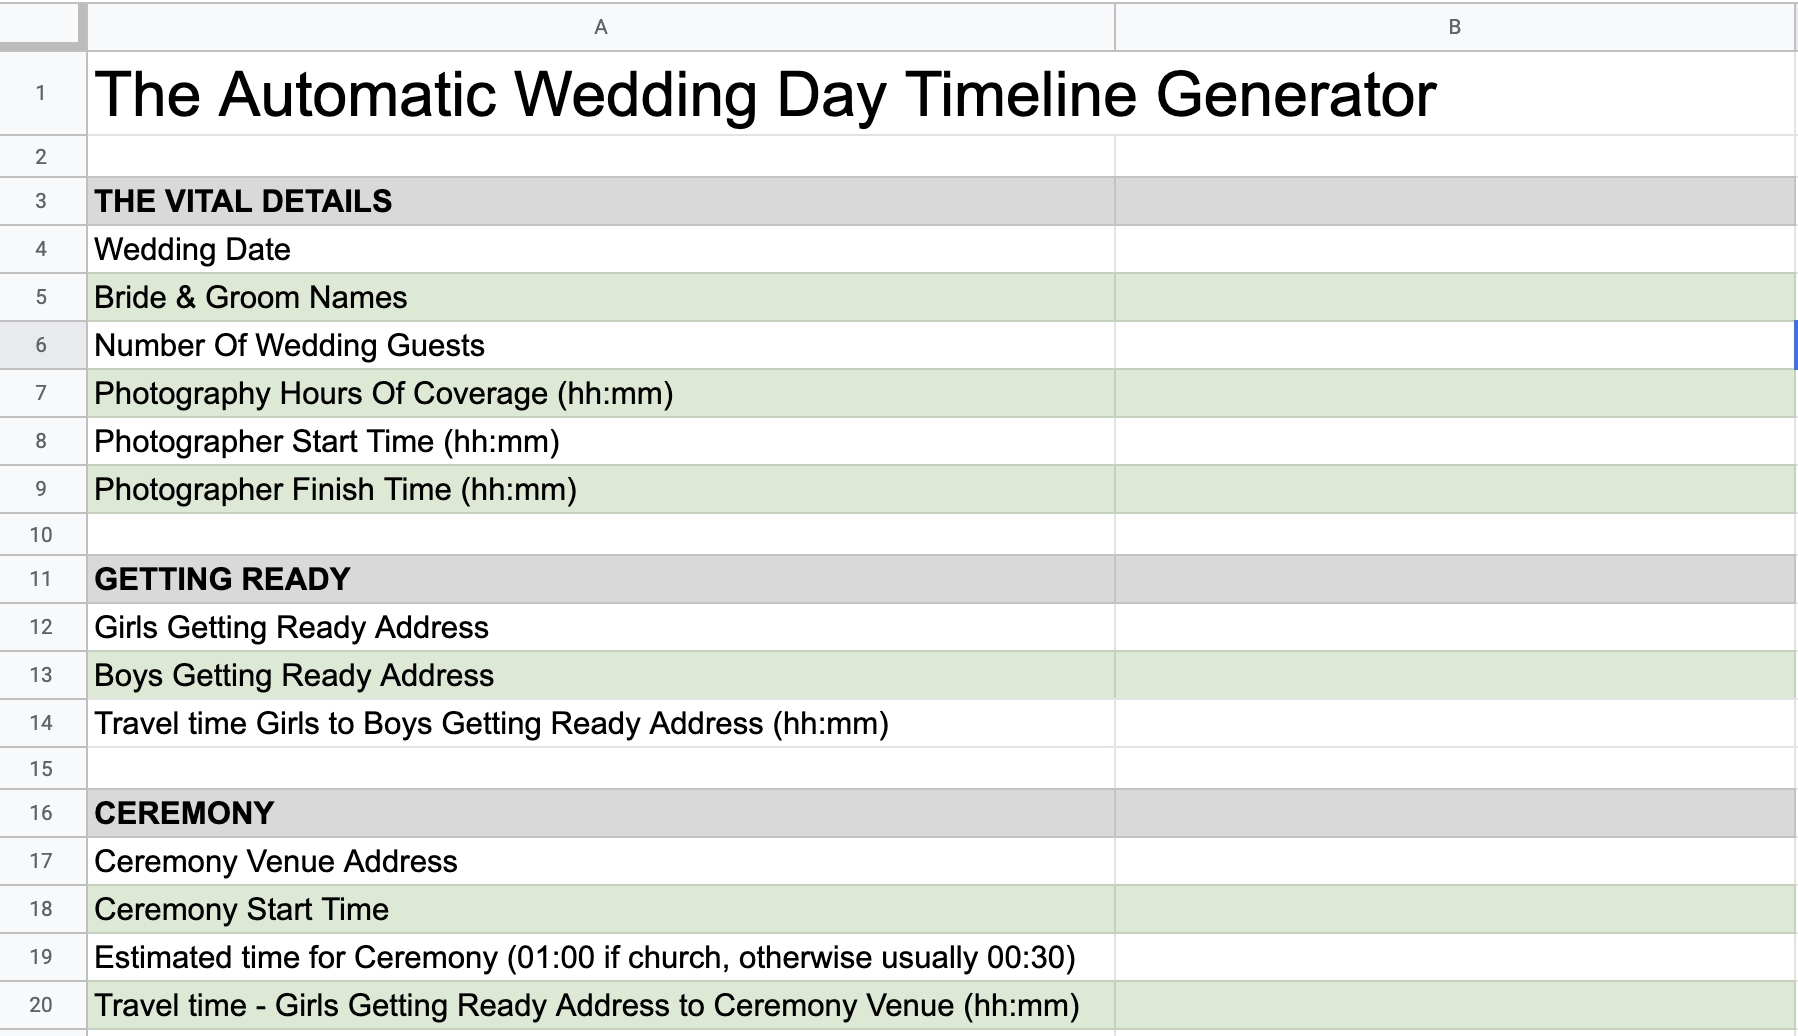
I am sharing with you the template I use to whip up wedding day run-sheets for my couples. This template comes in the form of a Google Sheets spreadsheet containing 3 sheets (or tabs if you prefer). The first sheet is where you plug in your wedding day details – all the info you know (make up the rest if you need to!). You will need a Google account to access the Wedding Timeline NZ template and you will need to make and save your own copy in order to be able to edit it.
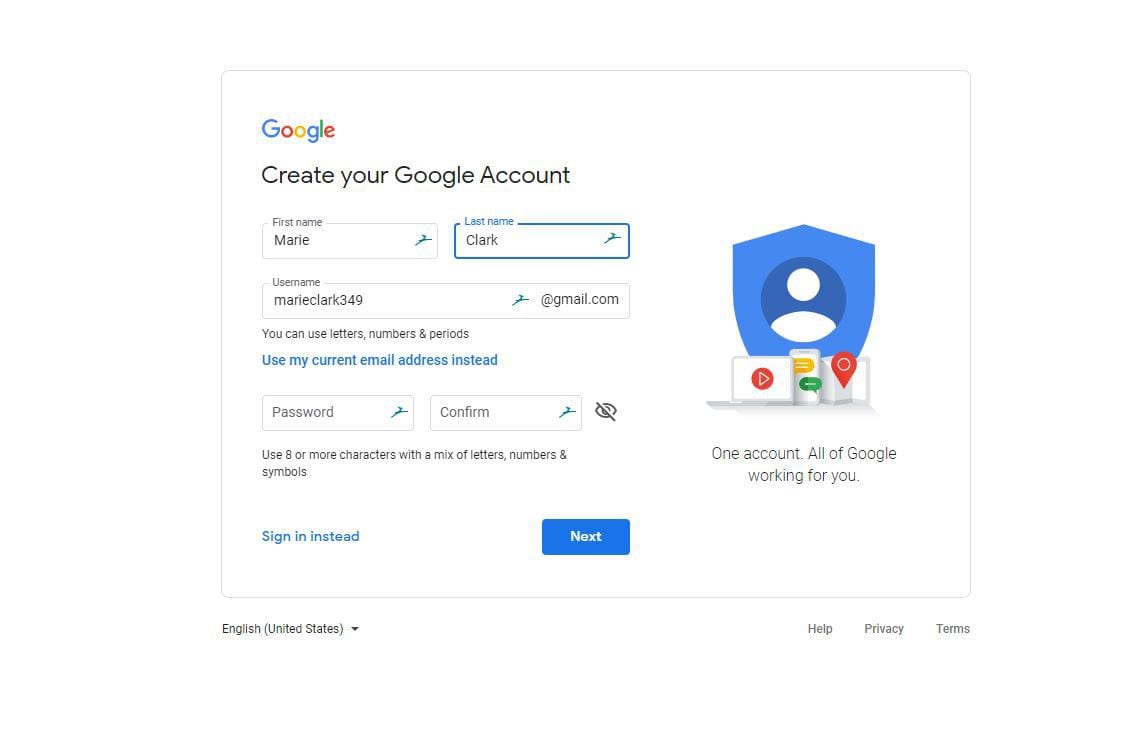
Step #1 – if you don’t have one, create a Google account
If you don’t have a Gmail or Google account, you will need to create one. (See this support documentation from Google on how to create a Gmail account).

step #2 – access my Automatic wedding day timeline generator template
Once you have a Google account and have logged into Google/gmail, click on the “Get instant access” button at the bottom of this post to view or download the template.
Notes
- The template includes Getting Ready, Ceremony, Location Photos at 2 locations and the full Reception. I would suggest you don’t delete any part of the document even if you don’t need it as it will probably break the formulas in the spreadsheet that allow it to calculate your Timeline for you.
- The Template is a Google Sheets document. If you aren’t familiar with Google Sheets, it is basically a cloud version of Microsoft Excel. Ie it is a cloud-based spreadsheet app that is easy to share with others, comment on etc. The beauty of this is there is only ever one copy of the document and it is always up to date. No more looking at an outdated run-sheet by mistake!

step #3 – make your own copy of the template and start editing!
You will need to make your own copy of the my Wedding timeline nz template so you can edit it. Just click on “File” in the top left menu then click “Make a copy” to make your own editable copy of the spreadsheet. To make sure you can find this document again when you need it, the easiest ways are;
- Bookmark the page in your browser
- Click “Share” and copy and save the share link somewhere. Just click on the share link to access the Template.
That’s it!
I hope you find this blog post and my Wedding Timeline NZ Template helpful. Any questions, you know where to find me, Patrick.

0 comments